E-Mail Setup/Webmail
This page will show you how to get started with webmail, and walk you through a few of the more common options that you may find useful
Access
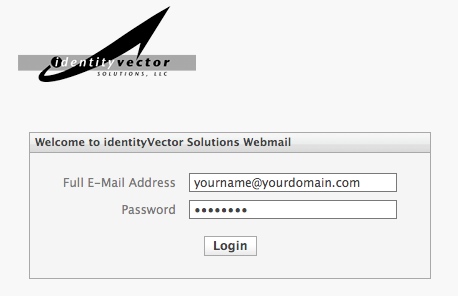
To access your e-mail account via the web, just browse to webmail.identityvector.com and log in with your full e-mail address and password, then click "Login".
Legacy Webmail Users
Users that used our webmail solution prior to June 2011 will have all preferences and address book entries loaded to the new system automatically. If you feel that any settings did not migrate forward, please let us know so we can track down any remaining errors.
New Webmail Users
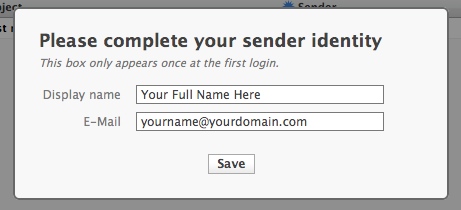
If you have not yet logged into the Webmail interface, you'll be prompted to enter your name as it will appear in outgoing e-mail messages, as well as confirm your e-mail address. This screen will only be displayed once.
Main Mail Window
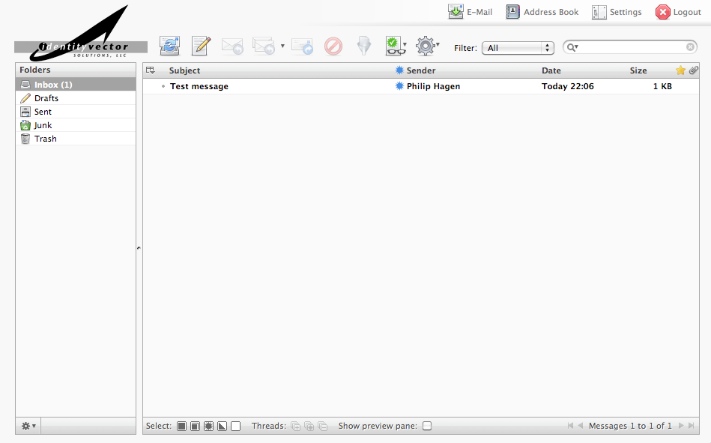
The main mail window is similar to most other e-mail applications, with the list of mail folders on the left, and the list of messages in the current folder displayed on the right. You can optionally enable a message preview pane with the checkbox below the message list pane.
In this window, the buttons across the top of the screen provide the typical e-mail functionality that you will need, and each button has pop-up tool tips to familiarize you with their purposes.
Contacts Screen
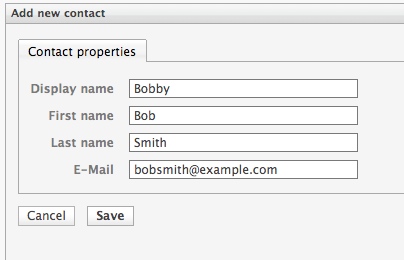
Our webmail system allows you to maintain a database of contacts' names and e-mail addresses. Simply click the "Address Book" icon/link at the top right of the main screen. Here, you can manage entries, as well as import from and export to the w:VCard file format.
Settings Screen
To configure your webmail settings, click the "Settings" icon/link at the top right of the main screen. The main settings screen is shown below. Each tab across the top provides different sections in which you can set options, and the list on the left shows option groups under each tab.

Spam Settings
Under the "Spam" tab, there are several option groups, including "Address Rules". Clicking this will allow you to manage "whitelist" and "blacklist" settings that are applied to incoming e-mail. A "whitelisted" entry will ensure 100% of mail meeting the specified criteria will be delivered to your Inbox. On the other hand, 100% of "blacklisted" entries will be marked as spam before delivery. Other sections under the "Spam" tab will enable you to file-tune the way our Spam detection engine processes your mail before it is delivered to your Inbox.

Mail Filter Settings
Our webmail solution provides a powerful interface to manage e-mail filters, enabling you to specify the destination folder of mail messages, as well as a host of other actions to be taken as a message is delivered to your Inbox.
Basic File-to-Folder
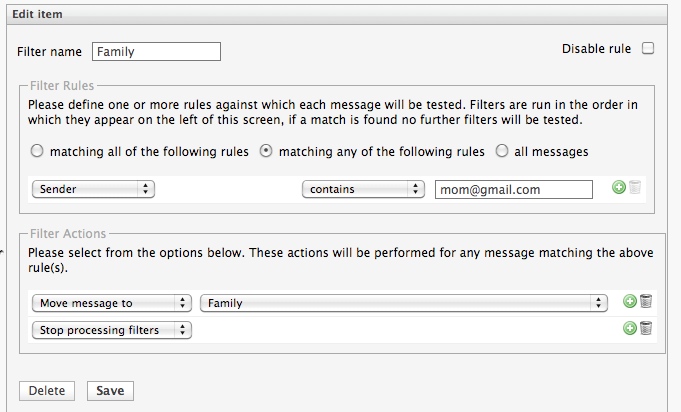
The most basic filter will move a message to a specified folder if it meets certain criteria. In the example below, any mail from "mom@gmail.com" would be filed to the "Family" folder.
File Tagged Spam
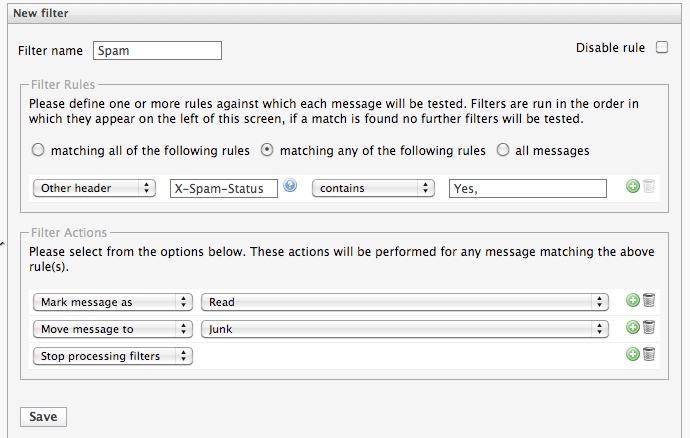
Another common example would be to perform several actions on mail that has been identified as spam. In the case below, the filter will mark the message as "read", then file it to the "Junk" folder. Note that the filter requires a comma after the "Yes" criteria for this to work properly.
Vacation Auto-Responder
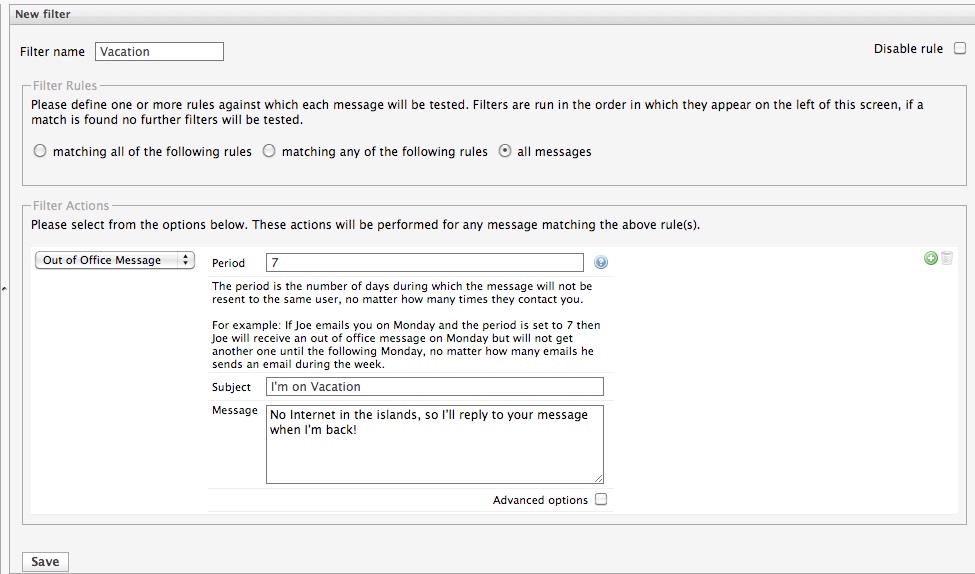
Another example is the creation of an out-of-office, or vacation auto-responder. When the example rule below is enabled, the system will send the message indicated to anyone that sends e-mail to your account, but will only do so once per seven days for each sender.
